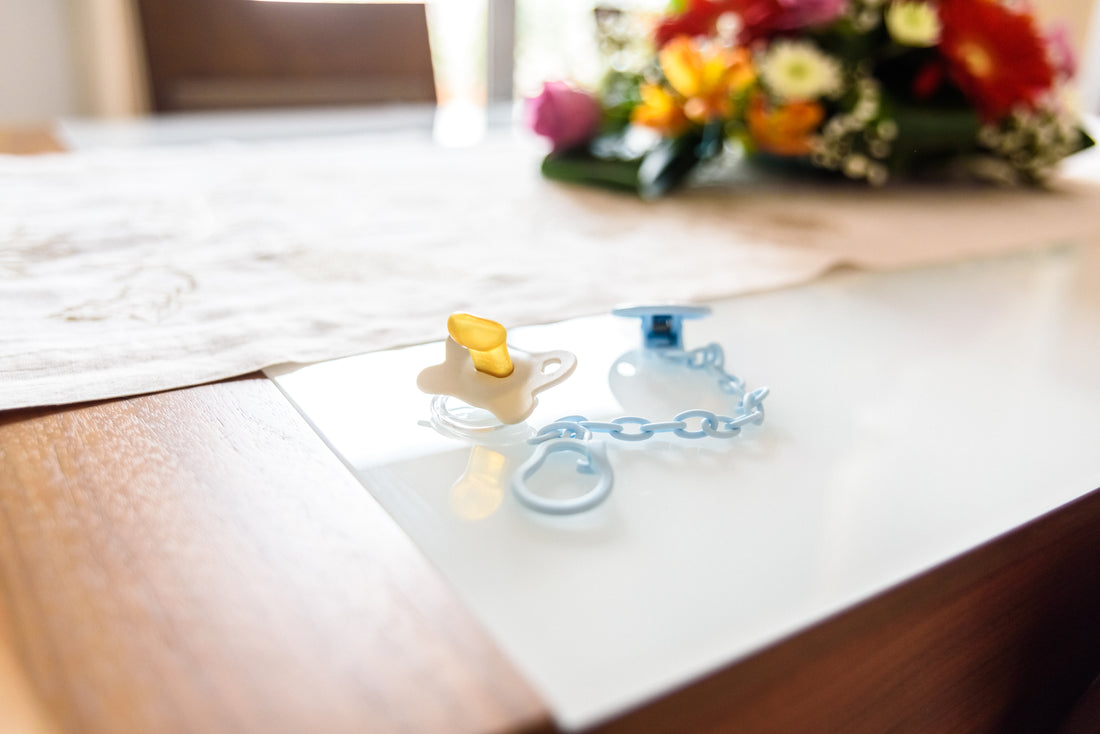
As a parent, you have an important job to make sure your baby is safe and healthy. One of the most important things you do is to make sure how to sterilize pacifiers. After all, your little one puts it in their mouth every day!
Luckily, sterilizing your baby's pacifier isn't hard and there are several options available for keeping it clean. From boiling in water to chemical treatments, there are a lot of different methods to choose from, and you must understand the pros and cons of each of them before making a decision.
In this blog post, we'll take a look at why sterilization is so important for pacifiers and outline some easy-to-follow techniques for doing it yourself. We'll also discuss when you should replace the pacifier altogether and dive into some of the best practices for keeping your little one's pacifiers safe and sanitary.
Don't worry - this doesn't have to be a daunting task! With just a few simple steps, you can easily keep your baby's pacifiers clean and sterile as they grow. Let's get started!
Why Sterilize Bottles?
Before we dive into the different methods of sterilizing pacifiers, it’s important to understand why doing so is so crucial in the first place. Since pacifiers are often put in a baby’s mouth where they come into contact with saliva, they can easily become contaminated with germs that can make your little one sick.
To avoid this from happening, you should always sterilize your baby's pacifiers before each use. This will ensure that your baby is safe and free from any potentially harmful bacteria or viruses that may be present on the pacifier's surface.

Easy Techniques For How To Sterilize Pacifiers
One of the simplest ways to sterilize dirty pacifiers is in boiling water for five minutes. This method kills most bacteria on contact and requires no extra chemicals or equipment.
You can also purchase special steam sterilizers specifically designed to sanitize pacifiers quickly and easily in the microwave or on the stovetop!
These come with baskets or bags that allow you to submerge the pacifier(s) in hot water while preventing them from touching the bottom of the pot - ensuring thorough cleaning every time.
For chemical treatments, you can use a solution made up of equal parts vinegar and water (or one tablespoon of chlorine bleach per quart of water). Soak your baby's pacifier(s) in this mixture for at least five minutes before rinsing them off with clean water - this will kill any remaining bacteria on contact!
Finally, there are also microwavable bags available that will work similarly to steam sterilizers but without having to use any extra supplies like boiling pots or specialized solutions.
Just place your baby's pacifier inside one of these bags (which typically come preloaded with a disinfectant solution), then pop it into the microwave according to package instructions - usually around two minutes should do the trick!
The bag will create an airtight seal so that no steam escapes during the process and prevent any dangerous chemicals from getting onto your little one's delicate skin.
Read More: Can Babies Drink Cold Formula?
Signs That It's Time To Replace A Pacifier
Pacifiers can last anywhere from one month to eighteen months depending on usage and care. The most common sign that your baby’s pacifier needs to be replaced is when it starts to discolor or show signs of wear and tear.
Over time, the pacifier will begin to yellow as the rubber breaks down due to wear and tear. It may also start to break down in areas where your child bites on it frequently or where the nipple meets the shield. If you notice any of these signs, it’s important to replace the pacifier as soon as possible.
Another sign that your baby’s pacifier needs replacing is if it no longer fits in their mouth properly. Babies grow quickly! As they age, their mouths change shape and size which means their old pacifier might not fit them anymore.
If you notice that your baby has difficulty keeping their pacifier in their mouth or starts spitting it out more frequently than usual, then it may be time for a new one with a different size or shape that fits better with their current mouth shape/size.
Strategies For Replacing A Pacifier
When you do decide it’s time for a new pacifier, there are several strategies you can employ to make the transition easier on both parent and child.
One strategy is to slowly introduce the new pacifier while still allowing your child access to the old one until they become accustomed to the new shape/size/feel of it.
Another strategy is to gradually reduce access to the old one so that eventually your child stops using it altogether without feeling deprived or frustrated by its sudden absence.
Finally, some parents opt for simply getting rid of all older models at once and introducing only the new ones immediately afterward—which can work well for some children but not for others who need more gradual transitions between changes in items such as these!
Read More: How Many Baby Wipes Do I Need

FAQs
How To Clean Pacifiers In The Dishwasher?
Cleaning a pacifier in the dishwasher is easy! Simply place the pacifier in a mesh bag or use a special holder that fits on a dishwasher rack and run the washing cycle. Make sure to choose a gentle cycle with warm water, as too much heat may cause damage to the structure of the pacifier. After cleaning, remove it from the mesh bag (or holder) and let it air dry completely before giving it back to your baby.
Can You Wash The Pacifier With Dish Soap?
No, you should not wash a pacifier with dish soap. Dish soap is designed to break up grease and oils from dishes, which could leave residue on the pacifier that can be dangerous for a baby's health. Instead, use warm soapy water or specialized cleaners made specifically for cleaning pacifiers to keep them clean and safe. If possible, boil the pacifier for 5-10 minutes before use or after cleaning it to make sure it is completely sanitized.
How Long Do Germs Stay On Pacifiers?
It is important to note that germs and bacteria can remain on baby’s pacifiers for up to 24 hours. Therefore, cleaning and sterilizing your child's pacifier regularly is essential in reducing the number of germs or bacteria present. To do this, you should rinse the pacifier off with warm water before scrubbing it with a soft brush to remove any dirt build-up.
What Is The Safest Pacifier Material?
The safest pacifier material is natural rubber latex pacifiers. This material is resistant to tears and stretch, making it very durable and long-lasting. Unlike other materials, natural rubber latex does not contain BPA or phthalates which can be harmful to babies if they come into contact with them. It's also antibacterial and antimicrobial so the risk of bacteria on the surface of the pacifier is greatly reduced.
Read More: Do Babies Sleep More When Teething
Conclusion
When it comes to caring for your little one, sterilizing pacifiers is a must. Not only will it help keep them safe and healthy, but it is also an easy way to prevent the growth of harmful bacteria. Keeping your baby's pacifiers clean can be done by boiling items in hot water for five minutes, using a microwave steam sterilizer, or soaking items in a solution of equal parts water and vinegar.
Regardless of the method you choose, sterilizing pacifiers is an important step that should be done often. It not only helps keep freshly-laundered germs away from your little one, but it also helps reduce the risk of infection from harmful bacteria that may have been present before the start of cleaning or sterilization efforts. As a bonus, regularly sterilizing pacifiers can help extend the life of their favorite teething gadgets and toys!